Wisewand WordPress Integration: Publish in One Click

Why the WordPress Integration Matters
Generating a great SEO article is only half the battle. The other half is getting it published on your site without formatting issues, broken images, or missing metadata. Every AI writing tool I've tested requires manual copy-pasting — and that process inevitably introduces errors. Heading tags get lost, internal links break, image alt texts disappear.
Wisewand's WordPress integration solves this entirely. One click and your article appears on your WordPress site exactly as it looks in the Wisewand editor — complete with images, internal links, meta tags, schema markup, and proper formatting. After setting it up across 4 WordPress sites, I can say it's the cleanest AI-to-WordPress pipeline I've ever used. Read our full Wisewand review for the complete test results.
Prerequisites
Before you start, make sure you have:
- A Wisewand account with active credits (see pricing plans)
- A self-hosted WordPress site (WordPress.com hosted sites have limited plugin support)
- WordPress admin access (you need to install a plugin)
- PHP 7.4 or higher on your hosting (check in WordPress Dashboard → Tools → Site Health)
Step 1: Install the Wisewand WordPress Plugin
Method A: From the WordPress Plugin Directory
- Log into your WordPress admin dashboard
- Navigate to Plugins → Add New
- Search for "Wisewand"
- Click "Install Now" then "Activate"
Method B: Manual Upload
If you prefer manual installation:
- Download the plugin from wisewand.ai
- In WordPress, go to Plugins → Add New → Upload Plugin
- Select the downloaded .zip file
- Click "Install Now" then "Activate"
After Installation
Once activated, you'll see a new "Wisewand" menu item in your WordPress sidebar. Click it to access the plugin settings page, where you'll find your site's connection key.
Want to try this yourself? Try Wisewand today →
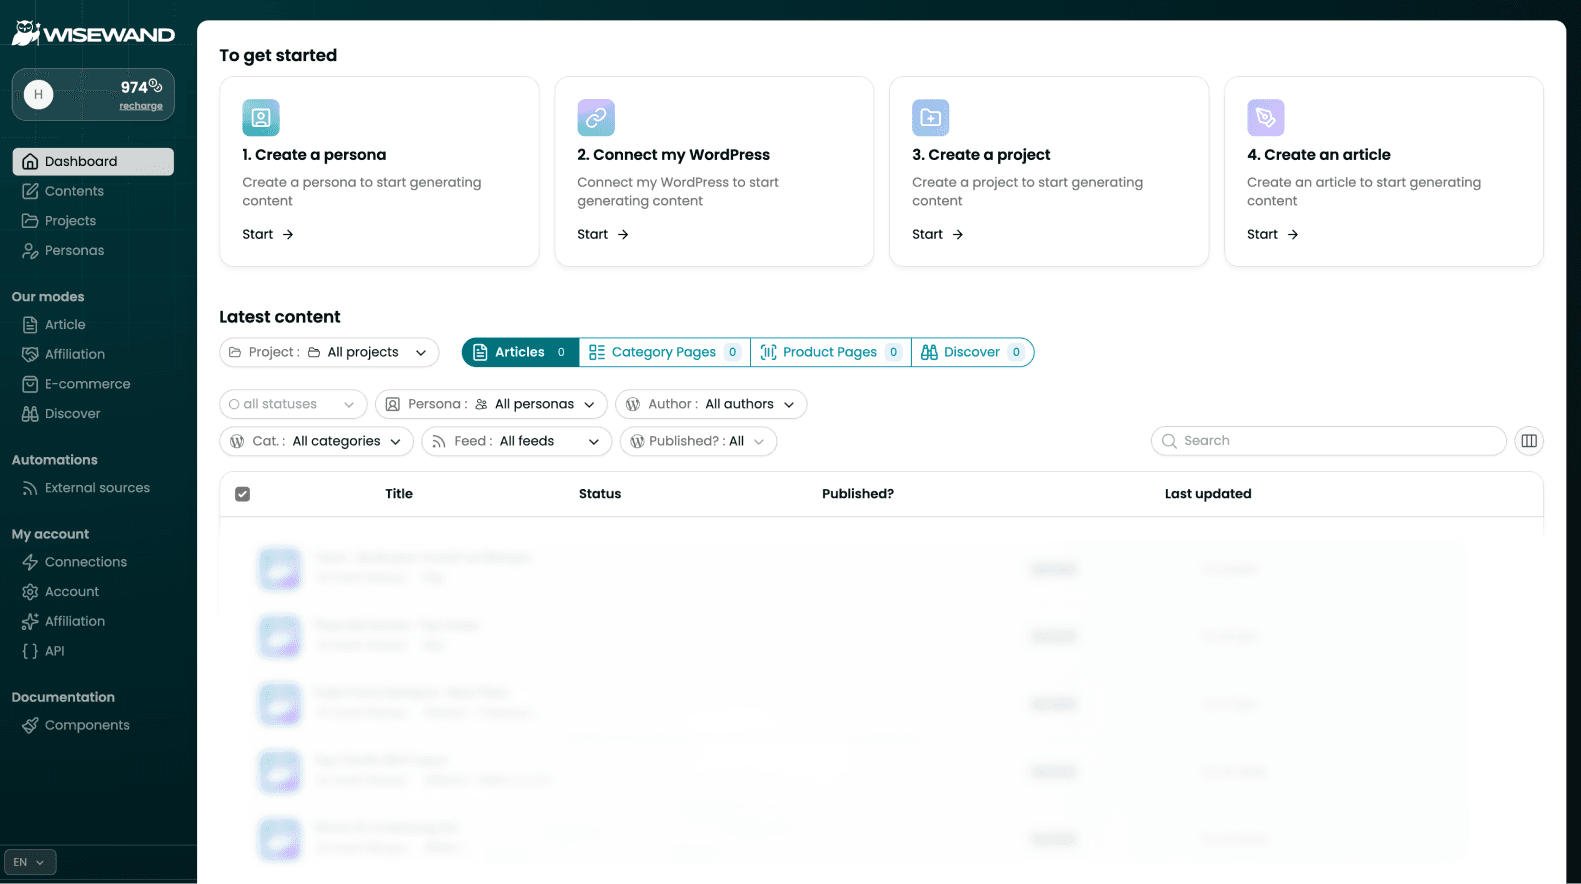
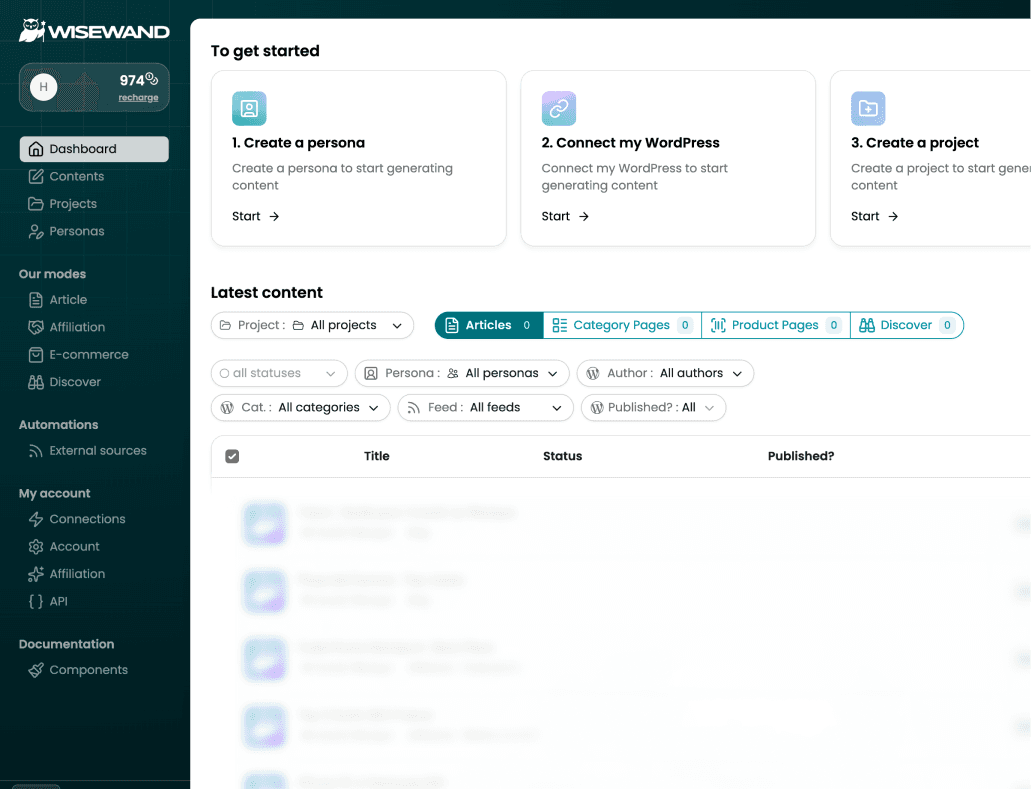
Step 2: Connect Your Site in Wisewand
- Log into your Wisewand dashboard
- Create a new project (or open an existing one)
- In project settings, click "Connect WordPress"
- Enter your WordPress site URL
- Enter the connection key from the WordPress plugin settings page
- Click "Verify Connection"
If the connection succeeds, you'll see a green confirmation. If it fails, check:
- Your site URL matches exactly (including https:// and no trailing slash)
- The plugin is activated (not just installed)
- Your site isn't behind a maintenance mode plugin
- Your hosting firewall isn't blocking the Wisewand API
Step 3: Configure Publishing Settings
Once connected, you have three publishing options for each article:
Option 1: Publish Immediately
The article goes live on your WordPress site as soon as you click publish in Wisewand. Use this for time-sensitive content or when you've already reviewed and approved the article.
Option 2: Save as Draft
The article is sent to WordPress as a draft. You can then review it in the WordPress editor, make final adjustments, and publish when ready. This is what I recommend for most users — it gives you a final quality check in the WordPress environment where you can see exactly how the article looks on your theme.
Option 3: Schedule for Later
Set a specific date and time for the article to go live. Perfect for maintaining a consistent publishing schedule without being tied to your desk.
Step 4: Understanding What Gets Transferred
When you publish from Wisewand to WordPress, the following elements transfer automatically:
| Element | Transferred? | Notes |
|---|---|---|
| Article body (HTML) | Yes | Full formatting preserved |
| Meta title | Yes | Compatible with Yoast, Rank Math, SEOPress |
| Meta description | Yes | Auto-populated in your SEO plugin |
| Featured image | Yes | Uploaded to WordPress media library |
| In-content images | Yes | Alt text and title attributes included |
| Internal links | Yes | Relative URLs preserved |
| External links | Yes | rel attributes preserved |
| Heading structure | Yes | H2, H3, H4 hierarchy maintained |
| Tables | Yes | HTML tables with proper formatting |
| Categories/Tags | Partial | Can be configured per project |
| Author | Configurable | Maps to WordPress user accounts |
SEO Plugin Compatibility
Wisewand works with the major WordPress SEO plugins:
- Yoast SEO: Meta title and description populate automatically
- Rank Math: Full compatibility with meta fields
- SEOPress: Supported
- All in One SEO: Supported
If you're using a less common SEO plugin, the meta title and description may need manual transfer. The article body and images will always transfer correctly regardless of your SEO plugin.
Ready to produce SEO content that ranks? Start writing with Wisewand →
Multi-Site Management
One of Wisewand's strongest advantages for agencies and portfolio site owners is multi-site management from a single dashboard. If you're evaluating other tools for multi-site workflows, our Wisewand alternatives comparison covers how competitors handle this.
Setting Up Multiple Sites
- Create one project per site in Wisewand
- Connect each project to its respective WordPress installation
- Create site-specific personas for each project (this is critical — each site should have its own voice)
- Generate and publish to each site independently
Workflow for Managing 5+ Sites
Here's the workflow I use for managing content across multiple sites:
- Monday: Keyword research for all sites. List target keywords per site
- Tuesday-Wednesday: Generate articles using Autopilot mode with site-specific personas. I can generate 30-40 articles across 5 sites in about 2 hours
- Thursday: Review all generated articles. Edit as needed. This takes 20-30 minutes per article
- Friday: Publish or schedule all approved articles across all sites from the Wisewand dashboard
Before Wisewand, this same workflow took an entire week of full-time work. Now it takes about 15-20 hours total.
Auto-Publishing with Autopilot Mode
The most powerful combination is Autopilot mode with auto-publishing enabled. Here's how it works:
For a detailed walkthrough of Autopilot mode itself, see our Autopilot V2 tutorial.
- In Autopilot mode, enter your keywords (one per line)
- Select your persona
- Enable "Auto-publish to WordPress"
- Choose your publishing status (published, draft, or scheduled)
- Click Generate
Wisewand will generate each article and push it to your WordPress site automatically. For bulk content production, this is game-changing. You can queue up 20 keywords and let Wisewand handle everything.
When to Use Auto-Publishing
- Low-competition informational content: Blog posts targeting long-tail keywords where factual accuracy is less critical
- Content refreshes: Updating existing pages with new information
- Sites with established personas: When your persona is well-tuned and produces consistently good output
When NOT to Use Auto-Publishing
- Affiliate content: Always review affiliate articles manually — see our affiliation mode guide for details on commission accuracy and product setup
- YMYL niches: Health, finance, legal content must be reviewed by a human
- New personas: Until you've verified the persona produces quality output, review everything
- Competitive keywords: High-stakes content deserves human review and editing
Troubleshooting Common Issues
"Connection Failed" Error
The most common issue (also covered in our Wisewand FAQ). Check these in order:
- URL format: Use the exact URL with https:// and no trailing slash
- Plugin status: Verify the plugin is activated in WordPress
- SSL certificate: If your site has SSL issues, the API connection may fail. Install a free SSL certificate via your hosting provider
- Firewall/Security plugin: Plugins like Wordfence, Sucuri, or CloudFlare may block API requests. Add Wisewand's IP range to your whitelist
- Hosting restrictions: Some budget hosts block external API connections. Contact your host or upgrade your plan
Images Not Appearing
If article text transfers but images don't:
- Check your WordPress upload directory permissions (should be 755)
- Verify your hosting has enough disk space
- Ensure PHP memory limit is at least 128MB
- Check if your security plugin is blocking media uploads from external sources
Formatting Issues
If your article looks different in WordPress than in Wisewand:
- Your WordPress theme may override heading styles. This is cosmetic only and doesn't affect SEO
- Table formatting depends on your theme's CSS. Most modern themes handle HTML tables well, but some may need custom CSS
- If using a page builder (Elementor, Divi), the article renders in the default WordPress editor, not the page builder. You can convert it after publishing if needed
See these features in action: Get launch pricing on Wisewand →
WordPress Security Considerations
Connecting any external tool to your WordPress site requires trust. Here's what Wisewand's plugin actually does:
- API access: The plugin creates a secure API endpoint that only responds to authenticated requests from your Wisewand account
- Permissions: The plugin only has write access to posts, pages, media, and metadata. It cannot modify plugins, themes, or user accounts
- Data flow: Content flows one way — from Wisewand to WordPress. The plugin does not send your existing content back to Wisewand's servers (the SERP analysis and content crawling happen independently)
I recommend keeping the plugin updated and using strong API keys. If you stop using Wisewand, deactivate and remove the plugin.
Optimizing Your WordPress Setup for Wisewand Content
Recommended Plugins
- Rank Math or Yoast SEO: For meta tag management
- ShortPixel or Imagify: To further compress Wisewand's AI-generated images
- WP Rocket or LiteSpeed Cache: For page speed optimization
- Table of Contents Plus or Easy TOC: Auto-generates a table of contents from Wisewand's heading structure
Theme Considerations
Wisewand generates clean HTML that works with any WordPress theme. However, themes with strong content styling (GeneratePress, Astra, Kadence) tend to render the output best. Heavy page builders sometimes conflict with the HTML structure.
Content Workflow Best Practices
Based on my experience managing multiple sites with the Wisewand-WordPress integration:
- Generate in batches, publish gradually: Don't publish 20 articles on the same day. Spread them out over 2-3 weeks for a natural publishing cadence
- Always review before final publish: Even with auto-publishing to draft status, do a final check in WordPress's preview mode
- Check mobile rendering: Preview your article on mobile. Wisewand's tables and images usually render well, but your theme may need responsive adjustments
- Monitor Google Search Console: After publishing, check that articles are being indexed. Good internal linking (covered in our internal linking guide) accelerates indexation
- Use promo codes: If you're just getting started, our Wisewand promo code page has an exclusive discount
Want to try this yourself? Try Wisewand today →
Get Started with the WordPress Integration
The WordPress integration is available on all Wisewand plans. The setup takes about 10 minutes, and once configured, you'll never copy-paste an article again. Combined with Autopilot mode and auto-publishing, you can go from keyword to published article in under 5 minutes.
If you're managing multiple WordPress sites, Wisewand's project-based dashboard becomes essential. Each site gets its own persona, content library, and publishing pipeline — all managed from one place. See all plans and start your integration today →

Arnaud
SEO publisher and tool tester since 2020. I test AI SEO writing tools hands-on — generating real articles, tracking rankings, and measuring ROI — so you don't have to gamble your budget.